
Custom Estimates for Well and Pump Services
Tom Schroeder Rotary Drilling And Pump Company provides FREE Estimates and a price point breakdown rather than a "blanket cost." Contact us today for your FREE estimate!
Estimate Requests
We provide custom estimates rather than providing prices using a preset fee. This approach benefits you because you only pay for the products and the labor required for your unique water well system. Tom can also give you multiple estimated amounts to illustrate your options before you make your final decision.
Tom Schroeder Rotary Drilling And Pump Company are proud to provide our customers with the highest quality products and services. To serve your needs effectively and ensure that your well and water systems are what you require, we provide custom estimates rather than prices using a preset fee.
This is due to numerous unknown considerations that can arise during the drilling process, such as the depth needed to reach an adequate water supply and the types of geological formations encountered during drilling. This approach benefits you because you only pay for the products and labor required for your unique water well system.
The estimation method also allows you to choose the pump brand, horsepower, and flow required for your specific needs.
The pump selection can also affect the duration and reliability of your warranty. Estimate totals will vary depending on pump selection. Our pump of choice, Franklin Electric J-Class, is backed by its customer service division which is second to none.
Franklin Electric J-Class is still manufactured in America. J-Class offers a more reliable warranty that can be up to 5 years. Old American brands such as Red Jacket, ITT Goulds, Aeromotor, Myers, Sta-Rite, and Berkley are now manufactured using motors with the CentriPro and Pentek brands. Their components are manufactured in China and only "assembled" in America.
We will always recommend the best products that fit your needs, whether for home, agricultural, or commercial purposes. In addition, our years of experience drilling in Missouri enables us to make accurate estimates based on current material costs and factors related to your specific location, such as its elevation, the depths of neighboring wells, and known geological formations in your area.
You must remember that each well drilled is a unique project. Though rare, there may be factors that increase the cost of the project, such as the need to dig deeper than anticipated or because the formations encountered during drilling are broken or fractured and can fall into the borehole, causing increased expense.
We make every effort to inform you of all possible scenarios beforehand or as they occur. We are always happy to answer any questions and address concerns before, during, and after the drilling process or water system installation. We believe in being honest and upfront with you, and we value the importance of providing clear communication and accurate information to our customers.
Tom can also give you multiple estimates amounts to illustrate all of your options to you before you make your final decision. These various amounts could include an estimate of the cost of a water system with different warranty options and showing the difference in price between the pump horsepowers.
As another example, he can give you an estimate that includes the cost of installing a liner to the bottom of the well versus the cost of installing only the minimum amount of casing required by Missouri DNR regulations. Regardless of your final options, he will explain the advantages and disadvantages of everything available before you decide.
Tom Schroeder will visit your site and talk with you to answer any questions and determine an approximate location for your well. At that time, he will also provide you with a written estimate.
Below you will find line item descriptions to make it easier for you to understand our estimate and invoice charges.
-
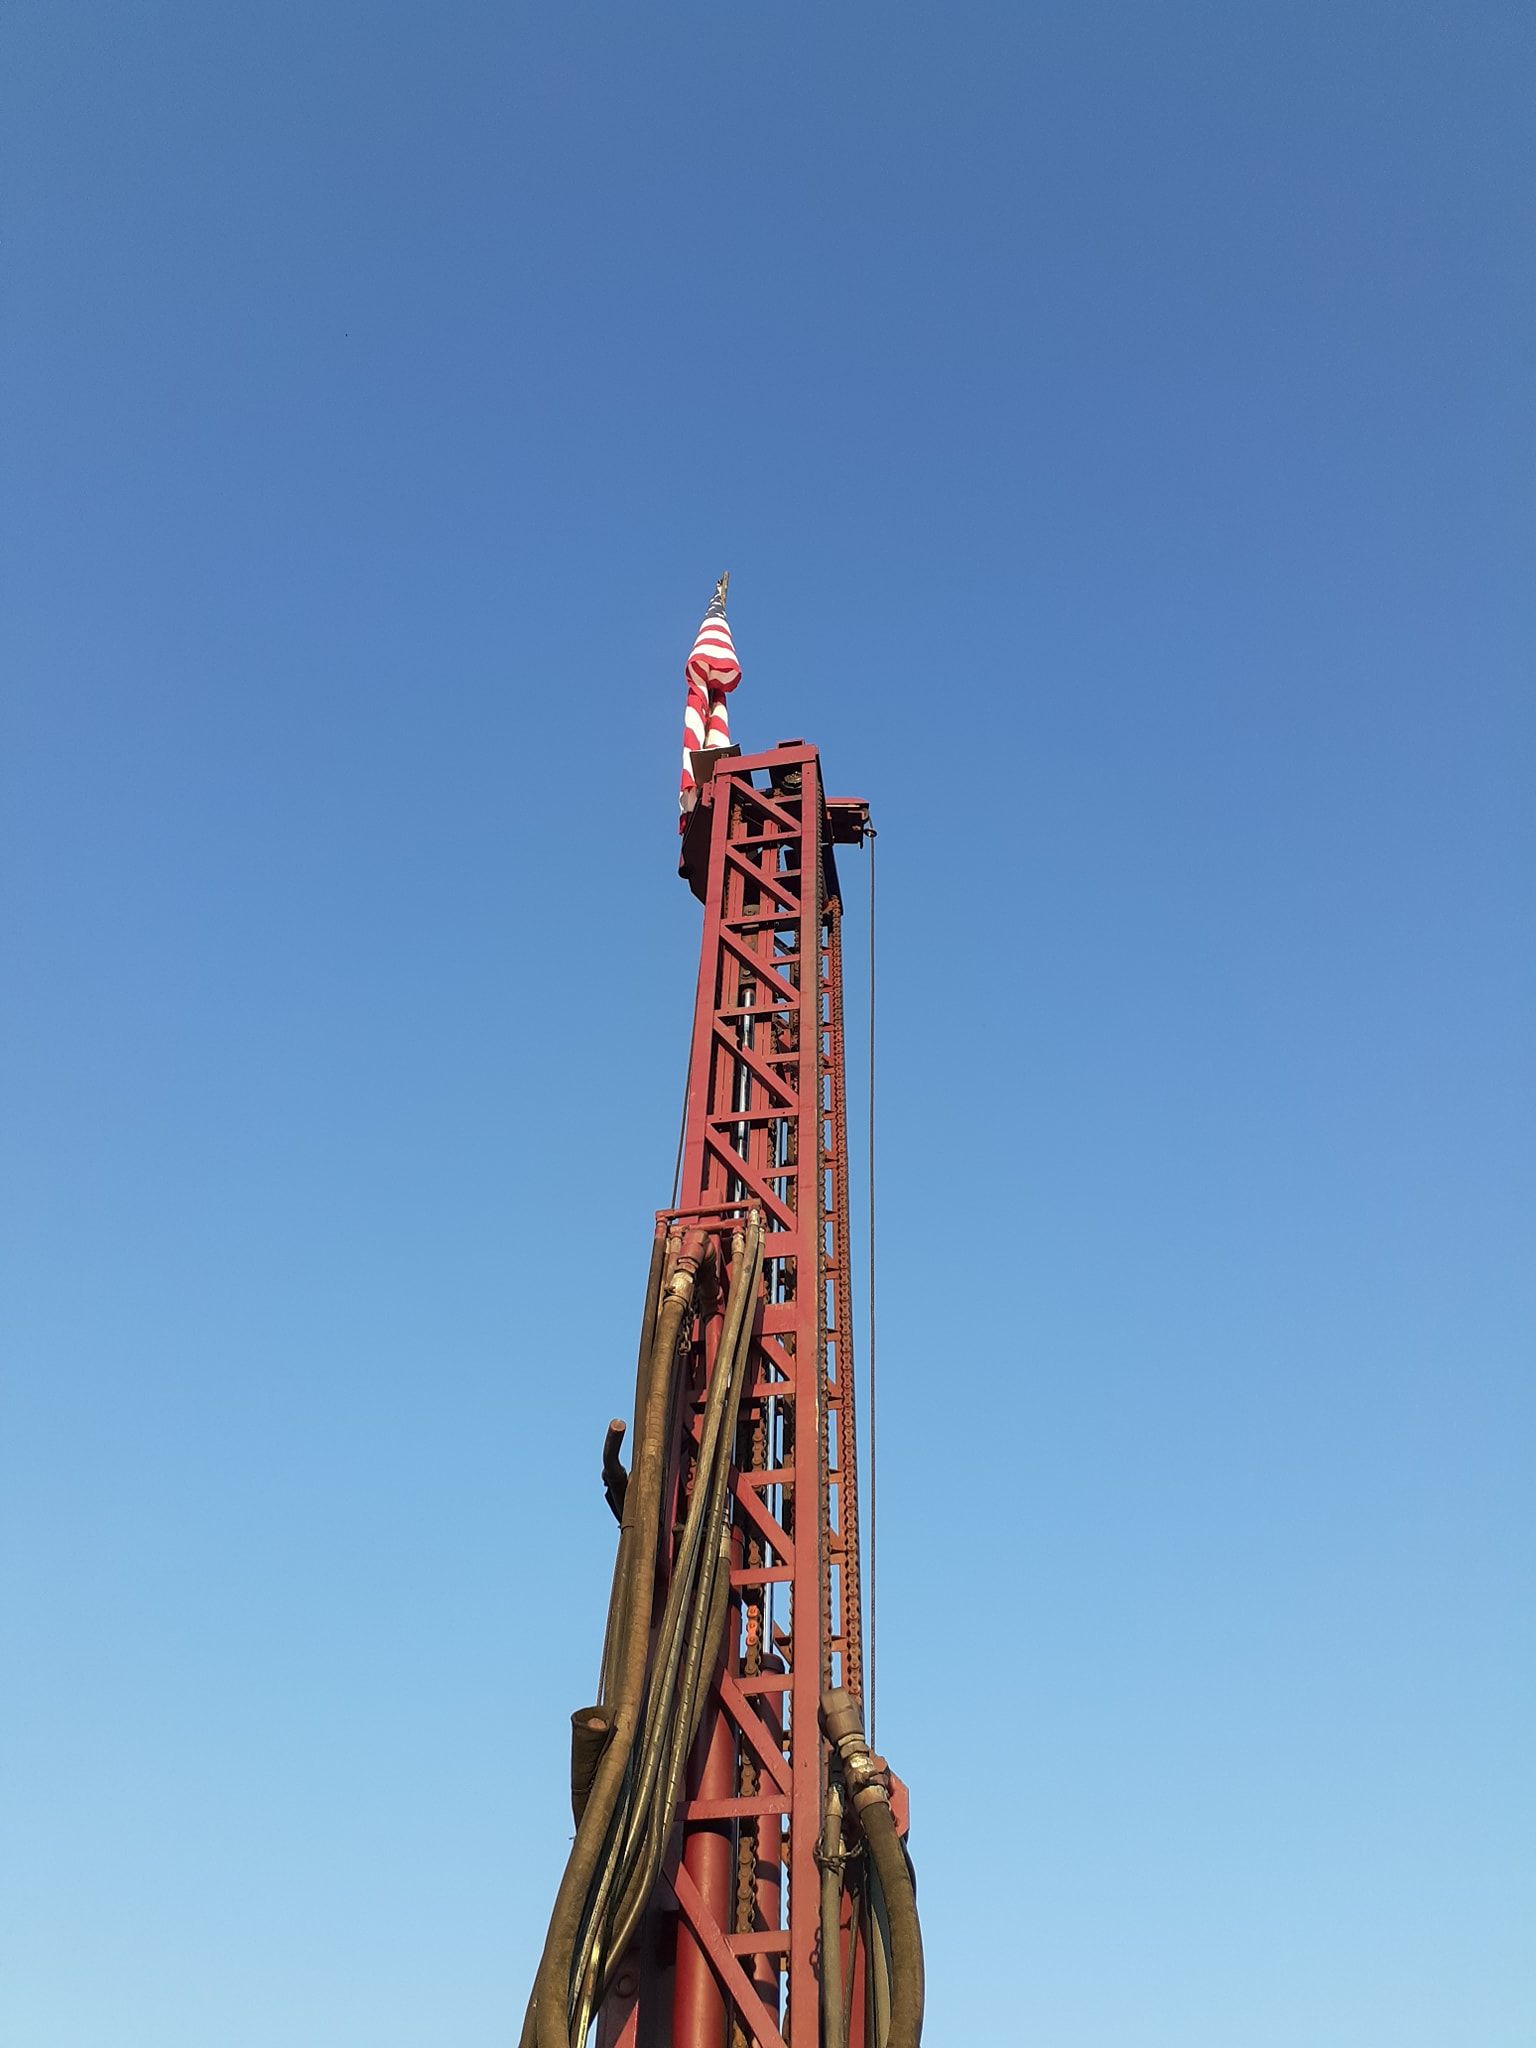
Drilling
In this section is an explanation of the charges for the actual drilling of the borehole. When drilling your well, two different bit sizes are used; a 9 1/4 inch hole to set the 6 5/8 inch surface casing, and a 6-inch hole is drilled below the surface casing, down into the water-bearing formations to finish the well. The 9 1/4 inch hole is drilled to start.
Although the DNR rules state that this hole's minimum size should be 8 5/8 inches, we increase the size to 9 1/4 inches to allow for more space around the casing. This hole is started on the surface and made through the dirt, loose rocks, clay, and shale typically found close to the surface in most areas of Missouri.
Eventually, solid rock, i.e., limestone and chert/flint, are encountered. Missouri regulations require that the surface casing is set at least 30 feet into a solid formation. Once solid rock is discovered, we continue to drill until we are at least 30 feet into solid rock. The larger bit and drill tools are removed from the hole, and the surface casing is installed.
After setting the casing and installing grout, the smaller 6-inch bit is placed inside the casing and lowered to the bottom of the casing, where drilling then resumes. As the 6-inch hole is drilled, it eventually enters porous formations saturated with water. As the hole is drilled deeper into the saturation zone, the more water flow the well produces.
We recommend that the well yield produce at least 2 to 3 times the anticipated pump flow. The extra water produced by the well will allow for lowering water levels and decreased production of water that naturally occurs in periods of extended dry weather and over time as the well gets older.
-
6" Casing
Different areas of the state require different minimum casing depths depending on location. These other locations are referred to as "areas." In most cases in extreme central Missouri, the minimum casing depth is 80 feet. Solid rock must be encountered for at least thirty feet before the casing can be set.
Shale formations should be drilled through until solid rock is encountered for thirty feet. The surface casing we use in over 90% of our newly constructed wells is schedule 40 PVC plastic casing. It is ideal for use in most wells in our area. Using plastic prevents rust and iron problems that are often associated with the use of steel casing.
It is welded together using a solvent, so it is quicker and easier to install and can usually be installed in less than a third of the time it takes to install steel casing. This helps keep the cost of well construction down. While plastic is our preferred casing of choice, it does have its limitations. Each 20-foot length of plastic casing weighs 75 pounds.
Due to weight limitations at the bottom of the casing column, we are advised by our pipe manufacturers not to set more than 140 to 150 feet. A heavier wall plastic casing is available for deeper settings, but using the heavier casing requires a larger diameter hole that results in higher costs.
It also is not possible to push or drive on plastic casing; therefore, if the borehole contains formations that are caving in, then a steel casing is required. Steel casing can be pneumatically driven, so it is perfect for driving through bad formations or when more than 140 feet of the surface casing is needed.
It is joined together using an electric arc welder, significantly increasing installation time which, in turn, results in higher installation costs. Steel casing is also susceptible to rust problems created over time. As the casing ages, it rusts and eventually will produce a rusty scale that can fall into the water, causing water quality problems.
Rust particles can also cause excessive wearing of the pump impellers. In some cases, the water level in the well can rise high enough that the steel casing can come into contact with the well water. The resulting biological and chemical reactions can result in taste, odor, and discoloration problems, necessitating the need for expensive water treatment systems.
-
4.5" Liner
After setting the surface casing, a smaller diameter hole is constructed to supply the needed well yield. After yield testing of the well, compressed air is used for flushing until it's clear. The tool string is then removed from the well. This process takes about 10 minutes per 100 feet of depth. With all the drill pipe removed, the hole will await the final process that transforms it into a well.
A 4.5-inch diameter PVC liner is installed to the bottom. The liner serves a dual purpose as a conduit to protect the integrity of the borehole and as a screen to protect the internal parts of the pump. The liner installation prevents many problems such as cave-ins, sedimentation, and abrasion to the pump, pipe, or wire after it is installed in the well.
The formations that are drilled below the surface casing, though considered solid, are still susceptible to cave-in. The formations that are left standing in water can soften over time. They can dissolve and wash loose as the water level diminishes and softens. During the drawdown, the water level lowers as the pump runs and then rises once the pump shuts off.
The continuation of this process over time causes tiny particles of sand and grit to loosen and fall into the water. If these particles are above the pump, they could be picked up by the pump when running, causing unnecessary wear and abrasion to the pump's impellers. If the particles are large enough, they could become lodged in the impellers causing the pump to lock up, thus requiring a service call and labor to repair or replace the pump.
A skill saw is used to systematically cut a series of slots into the liner to allow adequate water flow into the liner. There must be enough slots cut into the liner to allow enough water to flow freely at a velocity no more than .1 foot/second. As the pumping capacity of the pump increases, so must the number of slots.
To achieve this, we cut three rows of slots into each 20-foot section of the liner. Each row contains 19 individual spaces 8 inches long and 1/8 inch wide. Using calculations found in the Second Edition of Johnson's "Groundwater and Wells" publication, we know that each 20-foot section of liner slotted in this manner allows approximately 14 gallons per minute of flow.
We use as many sections as needed to allow full flow of the well's production capability. Correctly sizing the slot capacity prevents deposits from iron, calcium, and other minerals from fouling and eventually plugging the openings. Proper placement of the slotted sections and adequate depth of the well in relation to the static water level also allow the pump to set at a depth that the pump setting is located above the slots.
This also helps prevent any sedimentation that the well produces from entering the pump during pumping. The most important thing to remember about installing a liner in a well is that the finished product is just a hole in the ground without the liner. Installing a liner puts the finishing touches on the hole and transforms it into a well.
-
Well Cap
A well cap or well seal is needed to cap the well after drilling is completed to keep unwanted contaminants and foreign objects from entering. When a pitless adapter is used to install the pump, a watertight well cap with screened vents is used. It is fastened and secured using stainless steel bolts and nuts.
If the installation requires the well to be located inside a structure known as a well house, the drop pipe exits through the top of the well, and a well seal is used to hold the drop pipe and serve as a watertight lid. Another essential part of the cap that is often overlooked is that all caps need vent access to the atmosphere.
As the well is pumped, the water level will drop. If no vent is installed, lowering the water level can create a vacuum inside the casing. This could cause surface water to be introduced into the well around the casing if the well is not appropriately grouted, as with most older wells constructed before 1987-1988.
In case of flooding, these vent openings must be adequately screened to prevent insect and rodent intrusion and placed high enough above grade to protect from water intrusion.
-
State Certification
Each time a well is constructed in Missouri, the well driller and pump installer must submit a completed certification form with the appropriate fees to the Department of Natural Resources. A problem with this system is that all the needed information is rarely recorded on the forms.
Vital statistics often not reported are accurate well yields, measured static water levels, pump flow, and horsepower. All the information on the form is the minimum required to document your well's characteristics properly. This information can be helpful when future expansion is considered, or repairs are needed.
Part of the cost of your well is related to this certification system. While it is the contractor's responsibility to send in the fees and the completed form, we would recommend to the customer that you double-check to make sure the well and pump installation records are appropriately submitted.
This can be done online on the Missouri DNR website. The link can be found at http://dnr.mo.gov. You can also call the DNR Division of Wellhead Protection directly at (573) 368-2165.
-
Packers and Drive Shoe
When a plastic surface casing is used in the construction of your well, a rubber "boot" known as a packer is required to help hold the casing on the bottom of the borehole. This boot also helps prevent the grout from entering around the bottom of the casing once drilling resumes after the surface casing has been set.
The packer is secured to the plastic casing using a large stainless steel clamp. Smaller packers are available for use with the liner to help seal out water from unwanted formations encountered below the surface casing. They can also be used when steel casing is used to trap the debris that falls into the well as the steel casing ages and rusts.
Drive shoes are required when installing steel casing. The drive shoe is a hardened steel collar welded to the bottom of the first section of the steel casing. It adds extra strength to the casing and strengthens where it attaches to the bottom of the hole. This helps prevent damage to the sealing area of the casing.
It also allows the casing to be pneumatically driven, preventing damage to the casing, which could also prevent the grout from sealing.
-
Grout
A process known as grouting is used to seal the outside of the surface casing. This prevents surface water contamination. The grout must find its way around the casing to the bottom of the borehole through an opening, which in most cases is less than 1.25 inches in width.
The DNR's rules state that at least the bottom 30 feet of annular space must be filled with grout, although the best upgrade a customer can make in constructing a water well is to fill the entire annular space around the casing with grout. Six bags of grout are needed for every 30 feet of the casing to fill the annular space.
In most cases, the grout is installed using the gravity method described in the DNR's Construction Rules for Wells and Water Systems. Cement and bentonite are approved for use as a grout material for all wells in Missouri.
Cement is more expensive and labor-intensive to install; however, we feel it provides a more reliable casing seal. In all cases, we use cement grout which is Portland cement mixed with water. The mix gives the grout the consistency of a thin slurry, which allows it to find its way to the bottom of the casing through the limited opening around it.
It is poured into the well in most cases, and its consistency allows it to flow freely past any obstructions that sometimes fall into the hole while the casing is being installed. It can find its way past most obstacles so that it ends up around the bottom of the casing, where it seals the surface casing as intended.
It makes for a solid permanent seal for the surface casing to ensure for years to come that no surface water contamination is introduced into the potable water source below the surface casing.
Bentonite is another form of grout used by some drillers in Missouri. It comes in many forms: 3/6 inch chips, 1/4 inch pellets with a slow dissolving coating, and powder form to be mixed with water, making for a very thick, almost solid slurry. In most cases, the 3/8 inch chips are used by pouring the chips out of the bag around the casing in dry form.
Bentonite is a clay mined from various areas of the United States. Its characteristics are that it rapidly absorbs moisture causing it to swell and become sticky. These characteristics make it a poor choice to use when grouting in the limited space around the casing. Although the casing is only 6 5/8 inches in diameter, the couplings located every 20 feet are a little more than 7 inches in diameter.
This barely leaves an inch of space around the casing for the chips to fall through in perfect conditions. If the dirt, rocks, and clay swell from hydration or are loosened by the washing effect that happens during the drilling process, as happens in most cases, then the hole size around the casing can be significantly reduced, leaving only a small space for the chips to work their way past.
Compounding this problem is the fact that the coupled areas have a large squared lip, making it difficult for the chips to find their way past. As the chips fall into the hole, they come into contact with the dirt, rocks, and clay that have been hydrated because of the drilling process. This contact with the borehole surface causes the dry bentonite to become hydrated, thus making it swell and sticky.
As the bentonite "tumbles" into the hole, it bounces back and forth between the outer diameter of the borehole and casing. The tumbling effect causes the velocity of the falling bentonite to slow. If the diameter decreases enough and the bentonite swells and becomes sticky enough, it tends to become trapped before it reaches the bottom of the borehole.
We believe this happens in most cases, and if it does, the bentonite is trapped well above the area it needs to be. The surface casing cannot be sealed, allowing surface water and contamination to enter the potable water supply area of the well. The moral of the story here is that easier and cheaper is not always better. For this reason, we choose to use cement grout instead of bentonite.
-
Submersible Pump
Our pump of choice is the Franklin Electric J-Class line of submersible pumps. Franklin Electric offers a conventional pumping system that operates on a 20-pound differential or the new technology known as Constant Pressure. The conventional system uses a pressure switch and larger tank capacities to control the pump's operation.
Larger conventional systems of two horsepower or greater also require a control box. The Franklin Electric Constant Pressure system uses different technology requiring a smaller tank but a more expensive variable frequency drive (VFD) to run the pump motor. It is operated using a durable yet inexpensive pressure sensor to control the operation of the pump.
If the conventional system is sized with the correct tank capacity, there is very little difference in price between the two systems. All of these products are American-made and backed by manufacturers' warranties of up to five years on the motor and liquid end, one year warranty on the control box, and three years on the VFD.
Cheaper pumping systems are available, but all are imported from Europe or China. Old American brands such as Red Jacket, Goulds, Sta-Rite, Aeromotor, and Myers are now manufactured by Pentek and CentriPro, with some of the assembly processes taking place in America.
The Grundfos brand is imported from Denmark, and customer service from the manufacturer has long been a problem with the Grundfos brand. These products have constant pressure technology but are controlled using high-priced pressure transducers. Transducers are prone to failure from lightning and power surges.
Mix-matching imported components from these companies could achieve savings of $1,000 or more. Still, there are questions about the quality of these brands and the reliability of their customer service.
-
Schedule 80 Pump Pipe
Our pump installations use high-quality American-made PVC pipe manufactured by PW Pipe or Jet Stream. Pipe manufacturers have engineered guidelines regarding the maximum setting depth depending on pipe size, flow, setting depth, wire size, and static water level. We follow all guidelines set forth by our pipe manufacturers.
To properly size the drop pipe according to flow, we use the flow specifications found in the Friction Loss section of Cameron's Hydraulic Data manual. To adapt smaller pipe sizes to a pump with a different sized discharge, we use a stainless steel bushing, not a cheap plastic bushing that could crack, fail, and cause the pump to fall into the bottom of the well.
We use a 1-inch pipe when the pump setting depth is less than 400 feet, and the pumping flow rate is less than 12 gallons per minute (GPM). 1 1/4 inch pipe is used when the pump flow rate ranges between 12 to 25 GPM, and a 2-inch pipe is used when flow rates exceed 25 GPM up to 60 GPM. For domestic use, when well yields allow, our rule is to set the pump in 100 feet of water.
In instances where pump flows will be greater than 20 GPM, our setting depth will vary depending on whether a known accurate well yield can be determined from a reliable source. Sometimes, the setting depth could be more than 100 feet in the water.
When installing for flows less than 20 GPM in cases where the well has a yield greater than twice the pump's flow, it is never necessary to set the pump deeper than 100 feet in the water. Setting pumps over 100 feet in the water is a wise tactic and is often used by pump installers trying to increase profits.
However, this practice adds little if any value to your water system. If the pump fails and has to be pulled for repair or replaced, the excessive setting depth only adds more unnecessary costs. As we stated, the DNR Certification process and reporting procedures are done using the honor system.
What we have found from our experience is that most drillers will not go to the trouble of doing an accurate yield test or static water level measurement. The yield test requires a diversion adapter or the need to build a catch basin to allow the water to be contained and flow through a large pipe.
A stopwatch is then used to measure the time it takes to fill a container (usually a 1-gallon bucket). Calculations are then done, resulting in an educated and accurate flow determination. Failing to follow this procedure results in a "best guess" yield that is seldom accurate. When this happens, sometimes the yields are over-reported, resulting in installed pumps that out pump the actual yield of the well.
In cases where flows are greater than 20 GPM or well yields cannot be verified, then contractors are forced to use the trial by error method. This method may make it necessary to set the pump deeper in water than 100 feet. Knowing an accurate static water level is crucial to proper pump sizing in new installations and repairs.
Your driller and pump installer need the proper equipment to accurately measure the static water level after the well is drilled. Because water levels fluctuate, a pump repair contractor would also need to be equipped with a water level indicator to verify changing water levels that occur over the lifespan of the well.
This information is needed to determine the proper setting depth of the pump. While these instruments are expensive, they are a valuable tool needed to size the pump correctly. Sometimes contractors use "voodoo" to determine water levels by dropping rocks into the well. Novice maintenance specialists try to guess the water level based on stain lines found on the drop pipe they are pulling.
In both cases, no respect is given to quality assurance and the depth reported is usually far from accurate. When this happens, pump horsepower and flow rate can be incorrectly sized, causing the pump to under or over pump for the actual conditions.
As our customers, we want you to know that we don't use voodoo and guesswork when determining your well yield, water level, or pump size. Our sizing determinations rely on the knowledge gained from proper education based on the factual characteristics of your well, pump, and pipe size.
-
Pump Cable
Pump wire comes in various forms. It can be a solid core wire twisted together, a stranded core wire that comes in a flat, ribbon-style, or jacketed for extra protection against abrasion. In almost all cases, the wells we construct are equipped with a liner, so abrasion isn't an issue. A solid core twisted cable is not only susceptible to abrasion; it also is vulnerable to kinking.
If kinked, the conductor and insulation can become damaged from wear hardening. This kinking can cause damage to both the conductor and the insulation resulting in wire failure. We use the flat ribbon-style with stranded conductors. When properly installed, it lays flat against the pipe and is secured with Scotch 3M Super 33 plus electrical tape.
At intervals of 100 feet or so, the wire is half hitched with the tape preventing it from sliding down into the well. The wire is properly sized using our motor manufacturer's specifications. All of our wire also includes a color-coded green conductor that is dedicated to properly grounding the motor.
Some Franklin Electric motors have a patented lightning arrester built-in, and others use an aftermarket lightning arrester from Square D. The motor must be properly bonded to the ground of the electrical grid for lightning protection of any kind. Some contractors ignore proper grounding techniques, which can lead to safety issues and also degrade the surge protection capabilities of all lightning protection systems.
-
Couplings
The drop pipe is threaded and is coupled together using threaded couplings. For smaller horsepower systems, we use PW Pipe Schedule 80 PVC couplings. The manufacturer rates these according to setting depth and horsepower size. If the setting depth becomes too far or the horsepower size becomes too large, then metal couplings are required.
The least expensive metal coupling is an ordinary galvanized coupling protected from corrosion below the water level by wrapping with heavy mil PVC pipe wrap. The wrap seals the coupling away from the water and prevents the oxidation that leads to corrosion and failure of the coupling. We have used this method for over 20 years and have never had a coupling fail from corrosion.
Other metal couplings, such as brass and stainless steel, are available and can be used for usually triple the cost associated with galvanized. Our practice is to give the customer options and costs and let them decide.
-
Check Valve
At least one check valve is required in every pump installation. Pumps with smaller flows usually are supplied with a check valve built into the pump. While these check valves are very reliable, it only takes a small piece of sediment, rust, or a chip off of an impeller to foul the check valve and render it inoperable.
Most pump manufacturers recommend placing a check valve every 100 feet. We recommend at least one aftermarket check valve to serve as a backup to the factory-installed check valve. Using a second check valve adds a small expense to the overall cost of your water system, but the check valve is a fraction of the cost needed to pull and repair a pump that was set with only one check valve.
We use only FloMatic brand check valves. FloMatic check valves are available in lead-free brass as well as stainless steel. They are spring-loaded check valves with the heaviest spring available. The actual plunger is made of durable wear-proof plastic that will not restrict the flow thru the valve.
There are less expensive check valves from Simmons and Merrill, but they are built using a much lighter spring and brass plungers, which are vulnerable to wear and premature failure.
-
Pitless Adapter
In installations where a well house is not used and to avoid problems due to freezing at the wellhead, it will be necessary to exit the well underground using a pitless adapter to transition from inside the well to the water line outside the well. This allows the pump pipe and water line to exit the well underground below frost level in a sanitary manner.
Again we have chosen an American manufacturer, Campbell Manufacturing, as our source for this product. These pitless adapters are made using high-quality lead-free brass. Comparably speaking, they are 30% heavier than their import counterparts. They are built with strength in mind, which is a good idea for this component.
If the pitless adapter fails, the pump, pipe, and wire in the well could fall to the bottom of the well, making it necessary to attempt to "fish" the string of pipe and wire from the well. While it is possible to be successful in doing this, it is also possible that the pipe string and the pump may not be able to be retrieved, resulting in the need to replace not only the pump, pipe, and wire but also the well itself.
This is another example of why spending a few extra dollars could save thousands down the road.
-
Water Line
PW Pipe and Jet Stream are the leading suppliers of our schedule 40 PVC water line. The pipe is welded together using PVC solvent. We size our pipe correctly based on the actual flow through the pipe. Flow parameters for our water line are the same as for our Schedule 80 drop pipe.
When unusually long runs or systems with excessive amounts of elbows are necessitated, then upgrading to the next available size may be done to reduce friction loss. Our pipe is sized using knowledge based on our education, not guesswork, due to a lack of education. Properly sizing the pipe will ensure efficient operation of the pump and efficient operating cost-effectiveness.
In installations where the water line must be installed under a cement pad, we recommend using Service Blue pipe, which comes in continuous lengths up to 500 feet. This pipe is the most durable pipe for this type of installation. To make potential repairs or changes under the cement, we install a larger conduit before the cement is poured, and then the proper size water line can be installed through the conduit once the cement pad is in place.
-
Captive Air Pressure Tanks
Although not new to the industry, the captive air tank is the most modern innovation regarding pressure tanks. The air and water in a pressure tank are separated, with the water contained in a flexible rubber vessel while the air is held inside the tank outside the water vessel.
In theory, if the air stays separated from the water, then the air should remain trapped in the tank permanently, making the tank operate with minimal maintenance. If the tank is appropriately sized according to the actual flow of the tank, then the tank should last several years beyond the warranty period.
One of the biggest mistakes other contractors make is under-sizing the pressure tank. In most instances, the pump installed in a well for domestic purposes is a 10 GPM pump. The minimum tank size for a 10 GPM pump is 35 gallons. As a first choice, most other contractors offer a 20-gallon tank, which is the correct size for a 5 GPM pump.
Installing too small of a tank leads to premature pump, pressure tank, and component failure. We use tanks manufactured by Flex-Con. They are made from either a "fiber wound" fiberglass shell (the same material as the shell of a Stealth Bomber) with a plastic liner or a steel shell with a plastic liner.
The fiber wound tank is considerably less expensive than the steel tank. They are guaranteed for five years but setting the pre-charge correctly in relationship to the cut-in and cut-out values of the pressure switch should make the tank reliable for 15 years or more. Occasionally checking the tank's pre-charged air pressure and adjusting as needed will ensure an increased life span of your pressure tank.
Our tanks come in various sizes based on the actual volume of the tank. The tank sizes are 22, 35, 51, 65, 82, and 119 gallons. The drawdown of the tank at a 30/50 pressure setting is approximately 1/3 of the actual tank volume.
-
Tank Accessory Kit
Describe the item or answer the question so that site visitors who are interested get more information. You can emphasize this text with bullets, italics or bold, and add links. -
Frost Free Hydrants
We use only Woodford brand frost-free bury hydrants. They are manufactured in Colorado Springs, Colorado, using only American-made components. The same hydrants that Woodford made 50 years ago will interchange with the same hydrant parts manufactured today. They operate using a simple design that makes them easy to operate and maintain. They are simply the best hydrant available on the market today.
-
Underground Wire
Describe the item or answer the question so that site visitors who are interested get more information. You can emphasize this text with bullets, italics or bold, and add links. -
Torque Arrestors
These are generally used on older wells or when a modern well is constructed without a liner. They are expandable up to the diameter of the borehole and are used to hold the pump, pipe, and wire centered in the "hole" to prevent damage from abrasion. They are made from rubber and secured to the drop pipe using stainless steel hose clamps.
They are merely a Band-Aid to be used on a well constructed using obsolete or substandard drilling methods. In some cases, we have seen them used when a liner is installed, but they are generally not needed when a liner is present in the well. When a liner is used, problems from abrasion are nearly non-existent.
Experience shows that torque arrestors tend to rub enough to wear apart, or the clamps fail. When this happens, they can cause the pump, pipe, and wire to become lodged in the borehole. If the pipe used is plastic, it almost always makes it impossible to pull hard enough on the plastic to dislodge the pump without breaking the drop pipe. With this being the case, it only makes sense to do the job right the first time and install a liner when the well is constructed.
-
Romex Wire
Romex wire is used to send power from the breaker to the pump.
-
Breaker and Disconnect
The pump circuit should always be protected from shorts using a circuit breaker. We use modern breakers in all of our new installations. We will NEVER bypass a circuit breaker or fuse to force a water system to work. To do this is not safe and is an irresponsible act that puts the customer's life, property, and anyone who comes in contact with the unprotected circuit in danger.
In repairs of older, obsolete systems, if an old "fuse" system is used, we recommend upgrading to a newer, safer breaker type system. We carry indoor and outdoor breaker boxes on our trucks and most modern breakers up to 60 amp capacity, including Square D-QO, Square D-Homeline, General Electric, and Cutler Hammer.
We carry a complete line of older screw-in fuses when finances make it impossible to upgrade to a modern circuit breaker system. The bottom line is: if you need it, it is probably stocked on our truck.